Membres

Affichage des articles dont le libellé est Mes tutoriels. Afficher tous les articles

dimanche 18 janvier 2015

"Sassy Studio Designs", "January's New Releases", "Blog Hop"

Bonjour à tous! 

Good morning all! 

Aujourd'hui, il est temps pour vous annoncer les nouvelles images de "Sassy Studio Designs"! 

Today, it is time to announce to you the new images of "Sassy Studio Designs"!

A cette occasion, nous organisons un nouveau Blog Hop! 

In this occasion, we organize a new Blog Hop!


N'oubliez pas de laisser un commentaire à chaque membre de la DT pour tenter de remporter l'une d'elles! 

Do not forget to leave a comment with every member of the DT to gain one of them!

--------------------------------------------------------

Un nouveau défi commence sur le blog "613 Avenue Create". Le thème est "Winnie The Pooh".

A new challenge begins on the blog " 613 Avenue Create ". The theme is " Winnie The Pooh ".


Voici la liste à suivre! 

Here is the list to follow!

SSD
Sara
Valerie (Here)
GGT January FB Challenge – Bettina Leikvoll
Sheena
Debbie
Kitty
Sari
Carrie
Chris
Karal
GDT – Cindy Groh
SSD Store

Ma réalisation:

My realization:


J'ai utilisé du papier "Forever Friends", collection "Forever Love" et du papier "Bazzil Cardstock crème".

I used some paper " Forever Friends ", collection " Forever Love " and some paper " Bazzil Cardstock cremates ".

Les bords sont encrés à l'encre "Distress Walnut Stain".

Edges are inked to the ink "Distress Walnut Stain".


J'ai utilisé une nouvelle image "Sassy Studio Design", que vous pouvez trouver ICI.

I used a new image " Sassy Studio Design ", which you can find HERE.

Je l'ai colorisée de la façon suivante:

- Encre "Distress Tattered Rose" et "Distress Vintage Photo" pour la peau.
- Encre "Distress Antique Linen" et "Distress Walnut Stain" pour les cheveux.
- Encre "Distress Fayded Jeans".

I colorized it in the following way:

- Ink "Distress Tattered Rose" and "Distress Vintage Photo" for the skin.
- Ink "Distress Antique Linen" and "Distress Walnut Stain" for hair.
- Ink "Distress Fayded Jeans".

J'ai découpé l'image avec un dies "Spellbinders - Nestabilities - Majestic Ovals".

I cut the image with a dies " Spellbinders-Nestabilities - Majestic Ovals ".

Pour l'explication de la décoration de ce die-cut, merci de voir le tutoriel.

For the explanation of the decoration of this die-cut, thank you for seeing the tutoriel.

Sous l'image, j'ai collé de la dentelle blanche, de la dentelle de Calais blanche et du ruban "Vichy bleu".

Under the image, I stuck of the white lace, the white lace of Calais and the ribbon " blue Vichy ".


Pour le reste de la décoration, j'ai ajouté les fleurs suivantes:

- Marguerite bleue.
- Rose blanche (30 mm).
- Rose rose (30 mm).
- Boules de neiges roses.
- Rose bleue (15 mm).
- Lilidaft rose.

For the rest of the decoration, I added the following flowers:

- Blue Marguerite.
- White Rose (30 mm).
- Pink Rose (30 mm).
- Pink snowballs.
- Blue Rose (15 mm).
- Pink Lilidaft.

Maintenant, à vous de tenter votre chance de remporter un cadeau! 

Now, to you to try your luck to gain an image!


Et voilà! je vous remercie pour votre passage ici, et vous souhaite un excellent samedi! 

Here we are! I thank you for your passage here, and wish you excellent Saturday!

Scrapbizsss

Scrapkissesss

mardi 12 novembre 2013

"Scrapbook Stamp Society", new challenge!

Bonjour à tous! 

Hello my friends! 


Aujourd'hui, commence un nouveau défi chez "Scrapbook Stamp Society"!

Today, begin a new challenge at " Scrapbook Stamp Society "!


Le thème de ce défi est "Tout va + option Noir et Blanc avec 1 Couleur". (ICI)

The theme for this challenge is "Anything goes + Option Black and White with 1 Colour". (HERE)


Voici ma réalisation en images:

This is my realization on images:


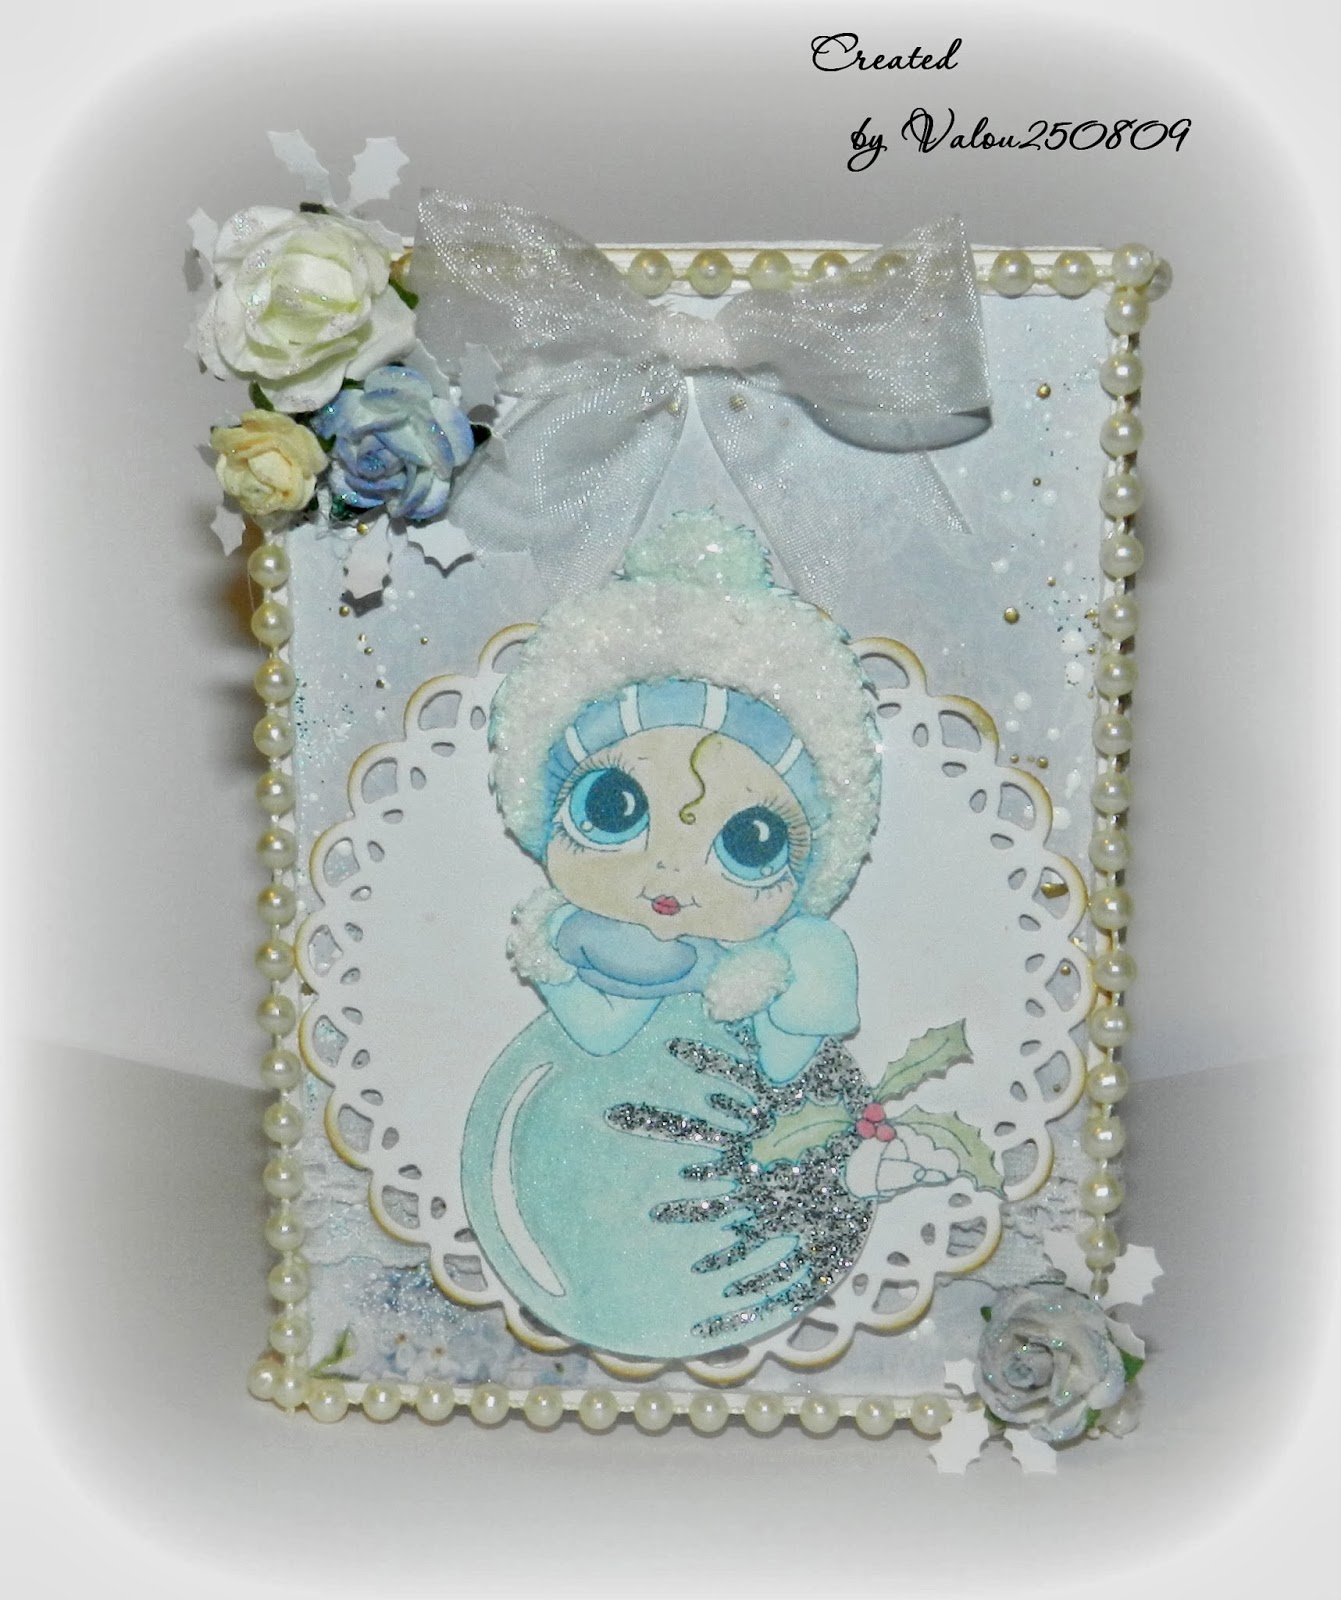
Pour cette tirelire, j'ai utilisé de la cartonette blanche, du bristol blanc et du papier "Inkido", "Beautiful Blue". Les bords de tous les papiers imprimés sont usés avec le "Old Distresser". 

For this money box, I used of the white cartonette, the white visiting card and the paper " Inkido ", "Beautiful Blue". The edges of all the printed papers are used with "Old Distresser".

Chaque papier imprimé est embossé avec de la poudre "Frantage - Shabby Blue". 

Every printed paper is embossed with some powder " Frantage - Shabby Blue ".

Ensuite, j'ai collé du ruban de perles nacrées blanches sur toutes les arêtes de ma tirelire. 

Then, I stuck of the ribbon of white pearly pearls on all the edges of my money box.


J'ai utilisé une image "Sherri Baldy" que vous pouvez trouver ICI. 

I used an image " Sherri Baldy " which you can find HERE.

Je l'ai colorisée de la façon suivante: 

- Encre "Distress Tattered Rose" et "Distress Vintage Photo" pour la peau. 
- Encre "Distress Vintage Photo" pour le cheveu. 
- Encre "Distress Stormy Sky". 
- Encre "Distress Bundled Sage". 
- Glitter Stickels Silver. 
- Crème "Creative Inspirations", "Winter Frost". 

I colorized it in the following way: 

- Ink "Distress Tattered Rose" and "Distress Vintage Photo" for the skin. 
- Ink "Distress Vintage Photo" for the hair. 
- Glitter Stickels Silver. 
- Cream " Creative Inspirations ", "Winter Frost". 

Je l'ai découpée puis collée avec des morceaux de mousse 3-d sur un die-cut réalisé avec la "Cuttlebug" et un dies "Spellbinders - Nestabilities". 

I cut it then stuck with foam pieces 3-d on a die-cut realized with "Cuttlebug" and a dies " Spellbinders-Nestabilities ".

Ce die-cut est encré avec de l'encre "Distress Tea Dye". 

This die-cut is inked with some ink "Distress Tea Dye".


Pour la décoration, j'ai ajouté un noeud que j'ai réalisé avec du ruban "Organza blanc", une rose blanche (20 mm), une rose blanche et bleue (15 mm) et une petite rose écru (10 mm). J'ai ajouté des petites feuilles de houx réalisées avec une petite perforatrice et quelques touches de "Glitter Stickels Icicle" sur les fleurs. 

For the decoration, I added a bow that I realized with the ribbon " white Organza ", the white rose (20 mm), a white and blue rose (15 mm) and a small rose ecru (10 mm). I added small leaves of holly realized with a small puncher and some touches of "Glitter Stickels Icicle" on flowers.


Maintenant, à votre tour de participer et de tenter de remporter le prix offert cette semaine. ICI

Now, in your turn to participate and to try to win the prize offered this week. HERE


Vous pouvez trouver le tutoriel pour la réaliser sur le site "Scrapbook Stamp Society", ICI.

You can find the tutoriel to realize it on the site "Scrapbook Stamp Society", HERE.


Merci de votre passage ici et de vos agréables commentaires qui me font toujours plaisir.

Thank you for your passage here and for your pleasant comments which always please me.

Scrapbizssss 

Scrapkissessss


Je tente ma chance au défi suivant: 


- Défi du blog "


Vous trouverez le matériel dans la boutique "Cards Und More", ICI.

You will find the material in the shop " Cards Und More ", HERE.

INKIDO Design Paper - Beautiful Blue Tim Holtz distresser de papier et coupe-fil Stampendous Fran-Day Shabby émaux de gaufrage BleuDistress Ink ™ Tampons lambeaux Rose Distress Ink ™ Tampons de photo vintage Distress Ink Stamp Pad ™ dégringolé verre Stamp Pad Distress Ink ™ ciel orageux Stamp Pad Distress Ink ™ Worn Lipstick Pad ™ Tampon de Distress Ink Livré Sage ® Snow SNOW aleene * TRUE * 118ml Stamp Pads Dye Tea Distress Ink ™ Bande de mousse 3D - 2 m rôle, 3mm d'épaisseur Spellbinders Nestabilit décembre  Elem.  S4-388 cercles majestueux  Organza blanc ruban, largeur 40 mm Stickles Glitter Glue Icicle

vendredi 13 septembre 2013

Tuto de ma carte boite!

Bonjour à tous! 

Hello my friends! 


I y a quelques jours, je vous promis le tutoriel de ma carte boite. 

I I have a few days there, promises you the tutoriel of my card box.

Le voici donc! 

It is thus!

TUTORIEL:

1. Couper dans de la cartonnette, un carré de 20 x 20 cm (8' x 8').

Tracer à 1,25 (1/2') cm puis à 2,5 cm (1') de chaque bord avec un plioir. 

1. Draw in the white cartonnette, a square of 20 x 20 cms (8' x 8').

Draw in 1,25 cms (1/2 ') then in 2,5 cms (1') on each side with a plioir.


2. Tracer un carré à 5 cm (2') du bord puis un autre à 7,5 cm (3') du bord. 

2. Draw a square in 5 cms (2') of the edge then an other one in 7,5 cms (3') of the edge also.


3. Couper chaque coin comme le montre le plan ci-dessous. 

3. To cut corners as shows it the plan below.


4. Couper un autre morceau de cartonnette de 12,7 cm et marquer une ligne avec le plioir à 1,25 (1/2') du bord. 

4. Cut another piece of cartonnette of 12,7 cms and mark a line with the plioir in 1,25 cms (1/2 ') of the edge.

5. Couper pour faire des rabats. C'est votre "partie 1".

5. Cut edges to make flaps.  It's your "part 1".


6. Coller les rabats pour former une petite boite. C'est votre "partie 2".

6. Stick flaps to form a small box. It's your "part 2".


7. Couper un morceau de cartonnette de 30 cm (12') x 15 cm (6'). 

7. Cut a piece of cartonnette of 30 cms (12') x 15 cms (6'). Fold it in two equal parts. It's your "part 3".


8. Reprendre votre "partie 1" et couper les carrés du centre en diagonal.

Marquer tous les plis.

8. Take back the " part 1 " and cut both squares of the center in diagonal.

Well mark all the folds.  


9. Coller les rabats pour finir la base de votre carte. 

9. Stick flaps to end the base of your card.

10. Stick the " part 2 " in the center of the " part 1 ".

10. Coller la "partie 2" au centre de la "partie 1".


11. Finalement, coller la "partie 3" derrière votre carte. 

11. Finally, stick the " part 3 " behind your card.


Maintenant, vous n'avez plus qu'à habiller votre carte-boite en fonction de vos goûts.

Now, you do not have more than to dress your box - card according to your tastes.


Et voilà pour aujourd'hui! J'espère que cette carte vous plaira et qu'elle vous inspirera. 

A bientôt!

And here is for today! I hope that this card will please you and that it will inspire you. 

Bye for now! 

Valou


You can find following products in the shop:


    adhésif double face - 9 mm x 13 m  Stickles Glitter Glue Icicle Stickles Glitter Glue Frosted LaceTim Holtz distresser de papier et coupe-fil Distress Ink™ Stempelkissen Tea Dye 

Distress Ink™ Stempelkissen Tattered RoseDistress Ink™ Stempelkissen Worn LipstickDistress Ink ™ Tampons de photo vintage Stamp Pad Distress Ink ™ Worn Lipstick  Stamp Pad Distress Ink ™ ciel orageux  Distress Ink ™ tampon noir de suie Distress Ink Stamp Pad ™ dégringolé verrePad ™ Tampon de Distress Ink Livré Sage  Stamp Pad Distress Ink ™ Vieux PapiersINKIDO Beautiful Memories II - Designpapier - Pink Flowers   Tonic bande 19  Inkssentials  Strass & Pearls - violet / blanc (855 pcs) Metalcorner / metal coins - Crème